Case Study
Digital Signage at Sherwood Ridge Public High School
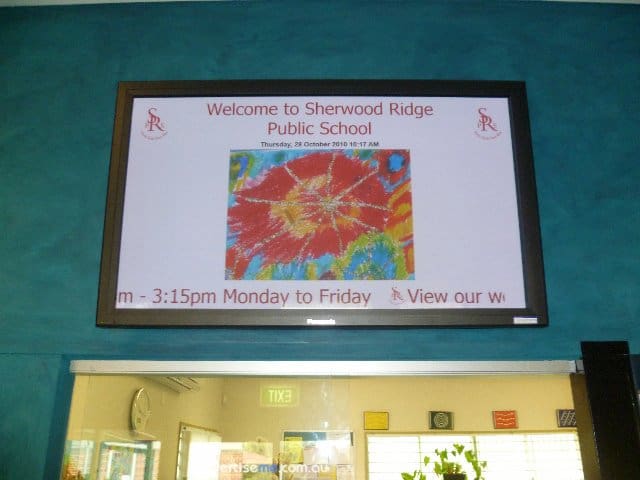
 This month, we successfully completed a digital signage project for Sherwood Public High School. Firstly, here’s a little history of the school:
Sherwood Ridge Public School opened its doors to students for the first time on 28 January 2004. At this time the school had 8 mainstream classes between Kindergarten and Year 6 and 2 support classes.
The founding Principal of Sherwood Ridge is Mrs Jan Marshall.
In the weeks following the school’s inception, students, parents and teachers came together to give birth to: four sporting houses – Air, Fire, Earth and Water; three core values – community, respect and learning; and the school motto “From Each Their Best”.
Requirements
The requirements for this project was quite straight forward and these were:
- Installation of 50” commercial grade screen in the Administration foyer
- A digital signage player to display a range of content types including images, videos and text
- The installation and configuration of the screen, bracket, cabling and digital signage player
- Audio Speakers in the Administration foyer
- Initial template creation
- Onsite Training
- Technical Support
The Solution
The solution we provided the school consisted of the following:
- Dell PC with dual VGA output
- PADS Digital Signage Software
- Panasonic 50″ Plasma screen
- Venturi wall bracket
- 2-Port USB KVM to control two PC’s by using the same keyboard, mouse and monitor
- Logitec Speakers
- VGA extension cable
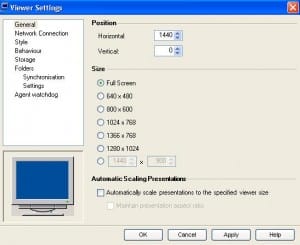
We provided the school with a standalone solution that enabled them to use the same PC to control, schedule and display the content and at the same time share the keyboard,mouse and monitor. Since the PC had two VGA outputs, one was connected to the local screen (used for managing and scheduling content) and the extended second output to the Panasonic screen (display the content). This setup is quite complex because the video configuration of the second output was setup as an extended screen. This meant that the PADS Viewer (a component of the PADS software) which displays content had to automatically launch on this extended screen. How did we do this? It was simple, the PADS application allows you to enter the X and Y co-ordinates of where the viewer will be launched. Here’s an example, the horizontal position of the viewer screen is 1440 (since the horizontal size of the primary screen is 1440) :
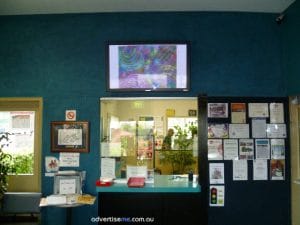
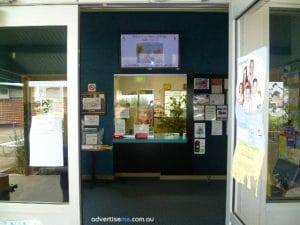
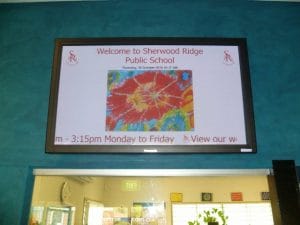
As a result, the digital signage solution was used as a tool to communicate messages with kids, teachers and parents through images and information. Below is a few pictures of the install:
Digital Signage in the Education sector in Australia is now becoming more popular and more affordable so why not talk to us so we can show you how you can achieve your digital signage goals.
LIKE WHAT YOU'VE READ?
When you subscribe you will also join other Digital Signage readers who receive our content right in their mailbox. Good luck!




I’m really enjoying the theme/design of your blog. Do you ever run into any browser compatibility issues? A small number of my blog audience have complained about my site not operating correctly in Explorer but looks great in Safari. Do you have any tips to help fix this problem?
Congratulations. Good job!
Just a suggestion:
I believe the screen is in an uncomfortable high position to be effective. On top of the window.
Maybe there was a good chance to install the screen at a more effective eyesight level, by replacing the board located at the right of the window.